Customize Your Own Bowl of Bibimbap.
Bibimbap is an iconic Korean dish that has gained popularity all over the globe. As such, there are many ways in which you can do it yourself and customize your own bowls at home. Here is a quick guide to your DIY bibimbap experience:
What You Need
The best part about bibimbap is that it can be the dish of the week that helps clear out what’s left in your vegetable bin. A quick blanch, quick pickling, or even just raw if the vegetables are still fresh.
There is no set recipe for exactly which vegetables to use. For complete nutrition and that Korean balance, make sure you incorporate a colorful variety of vegetables, such as green, white, orange, etc.
The protein also depends on what you have available. Typically, bibimbap calls for marinated beef. However, you can also use pork, chicken, shrimps, or tofu. You can do a quick-cooking with a basic seasoning of garlic, salt, and pepper. Or, you can follow recipes online for specific ways to cook your preferred protein.
The ingredient you must have is rice. Traditionally, it is white rice. However, you can also use brown rice or the like should you want an extra healthy bowl of bibimbap.
For items that you might need to purchase:
Consider buying a vegetable knife. A knife may just seem like a knife in your kitchen, but after using a proper vegetable knife, you will see for yourself how much easier it is to smoothly cut vegetables.
Also, think about investing in a high-quality rice cooker. This makes cooking rice so easy and so excellent. If you are a rice eater, then it is no question to get a great rice cooker.
Aside from those two items to add to your kitchen, bibimbap at home will also require large bowls to eat in, kimchi for a side dish that you can buy at your local Asian grocery, and bibimbap sauce.
How to Do It
 1. The first step, cook your rice of choice. Be sure to wash the grains well. Then, boil a pot of water. Use a double boiler if you have one, so it will be easier to get the vegetables and reuse the water.
 2. Chop the vegetables into bite sizes. The quantity of vegetables is ultimately determined by how many people you are serving. After you do a quick blanch of each type of vegetable (usually between 1 to 3 minutes, depending on vegetable itself), lightly season with a pinch of salt and a splash of sesame oil.
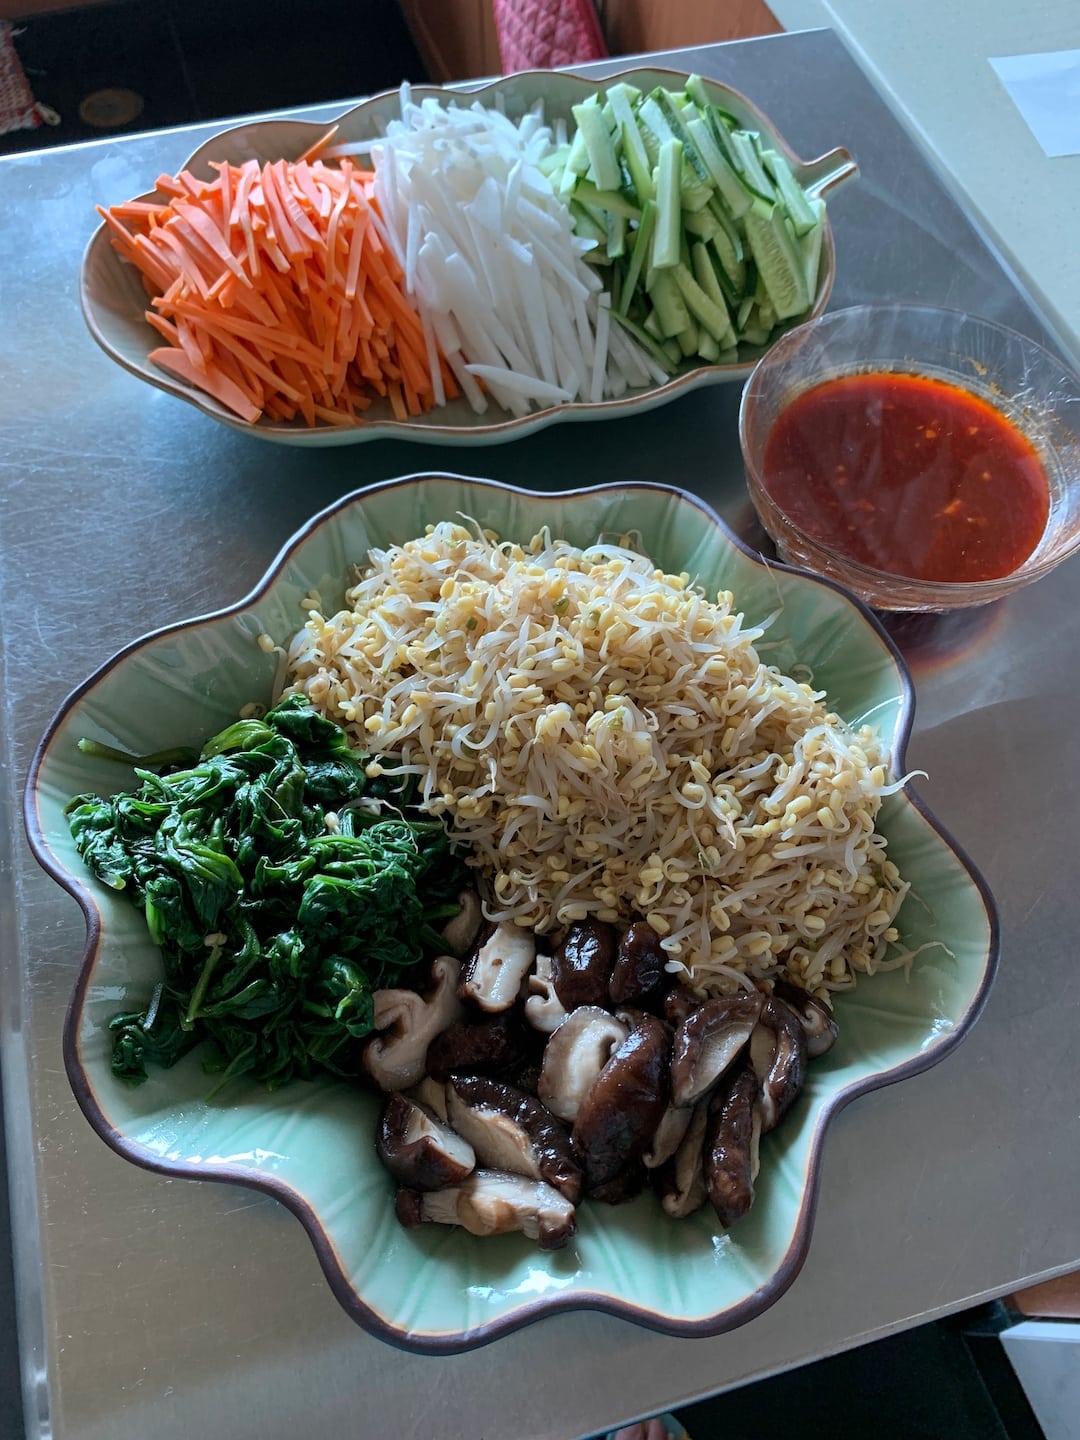
 3. For vegetables such as carrots, radish, or cucumbers, you can choose to julienne them and eat fresh or lightly toss in rice vinegar, salt, and sugar for a quick pickle.
 4. For DIY bibimbap, plate the vegetables and sauce in serving platters so individuals can plate their own bowls themselves.
 5. After your vegetables are done, you can prepare your protein of choice. In this case, the protein is shrimps marinated in fish sauce and garlic. You can even simply just have a fried egg or raw egg yolk.
 6. Finally, scoop rice into your bowl, place the protein in the middle, plate the vegetables categorized and colorful around the sides, and drizzle the bibimbap sauce all over. Then, as it’s bibimbap, mix it all together and enjoy!
Read more about Bibimbap
Bibimbap History: The Theories Behind Its Origin
Disclaimer: This article contains affiliate links. With no additional cost to you, your purchases earn me a commission if you click on the links via my website – Thank you!
Sign up for my newsletter on the sidebar for blog updates and my travel insider tips! And, check out my vlogs on YouTube!


