Carry-on Essentials
Packing a carry-on bag takes as much detail as packing a checked-in luggage. The carry-on bag stores all the necessities for checking-in to the flight, for use during the flight, and for your essential travel electronics.
Step #1: Placing out everything to pack
Before choosing which of my carry-on bags to bring, I lay out all that I need for the flight. I try to keep it to a minimal, as it will literally weigh heavily on my shoulders throughout the transit. With that in mind, it is only the necessities for the flight and everything else goes into my checked-in luggage.

Step #2: Choosing My Carry-On Bag
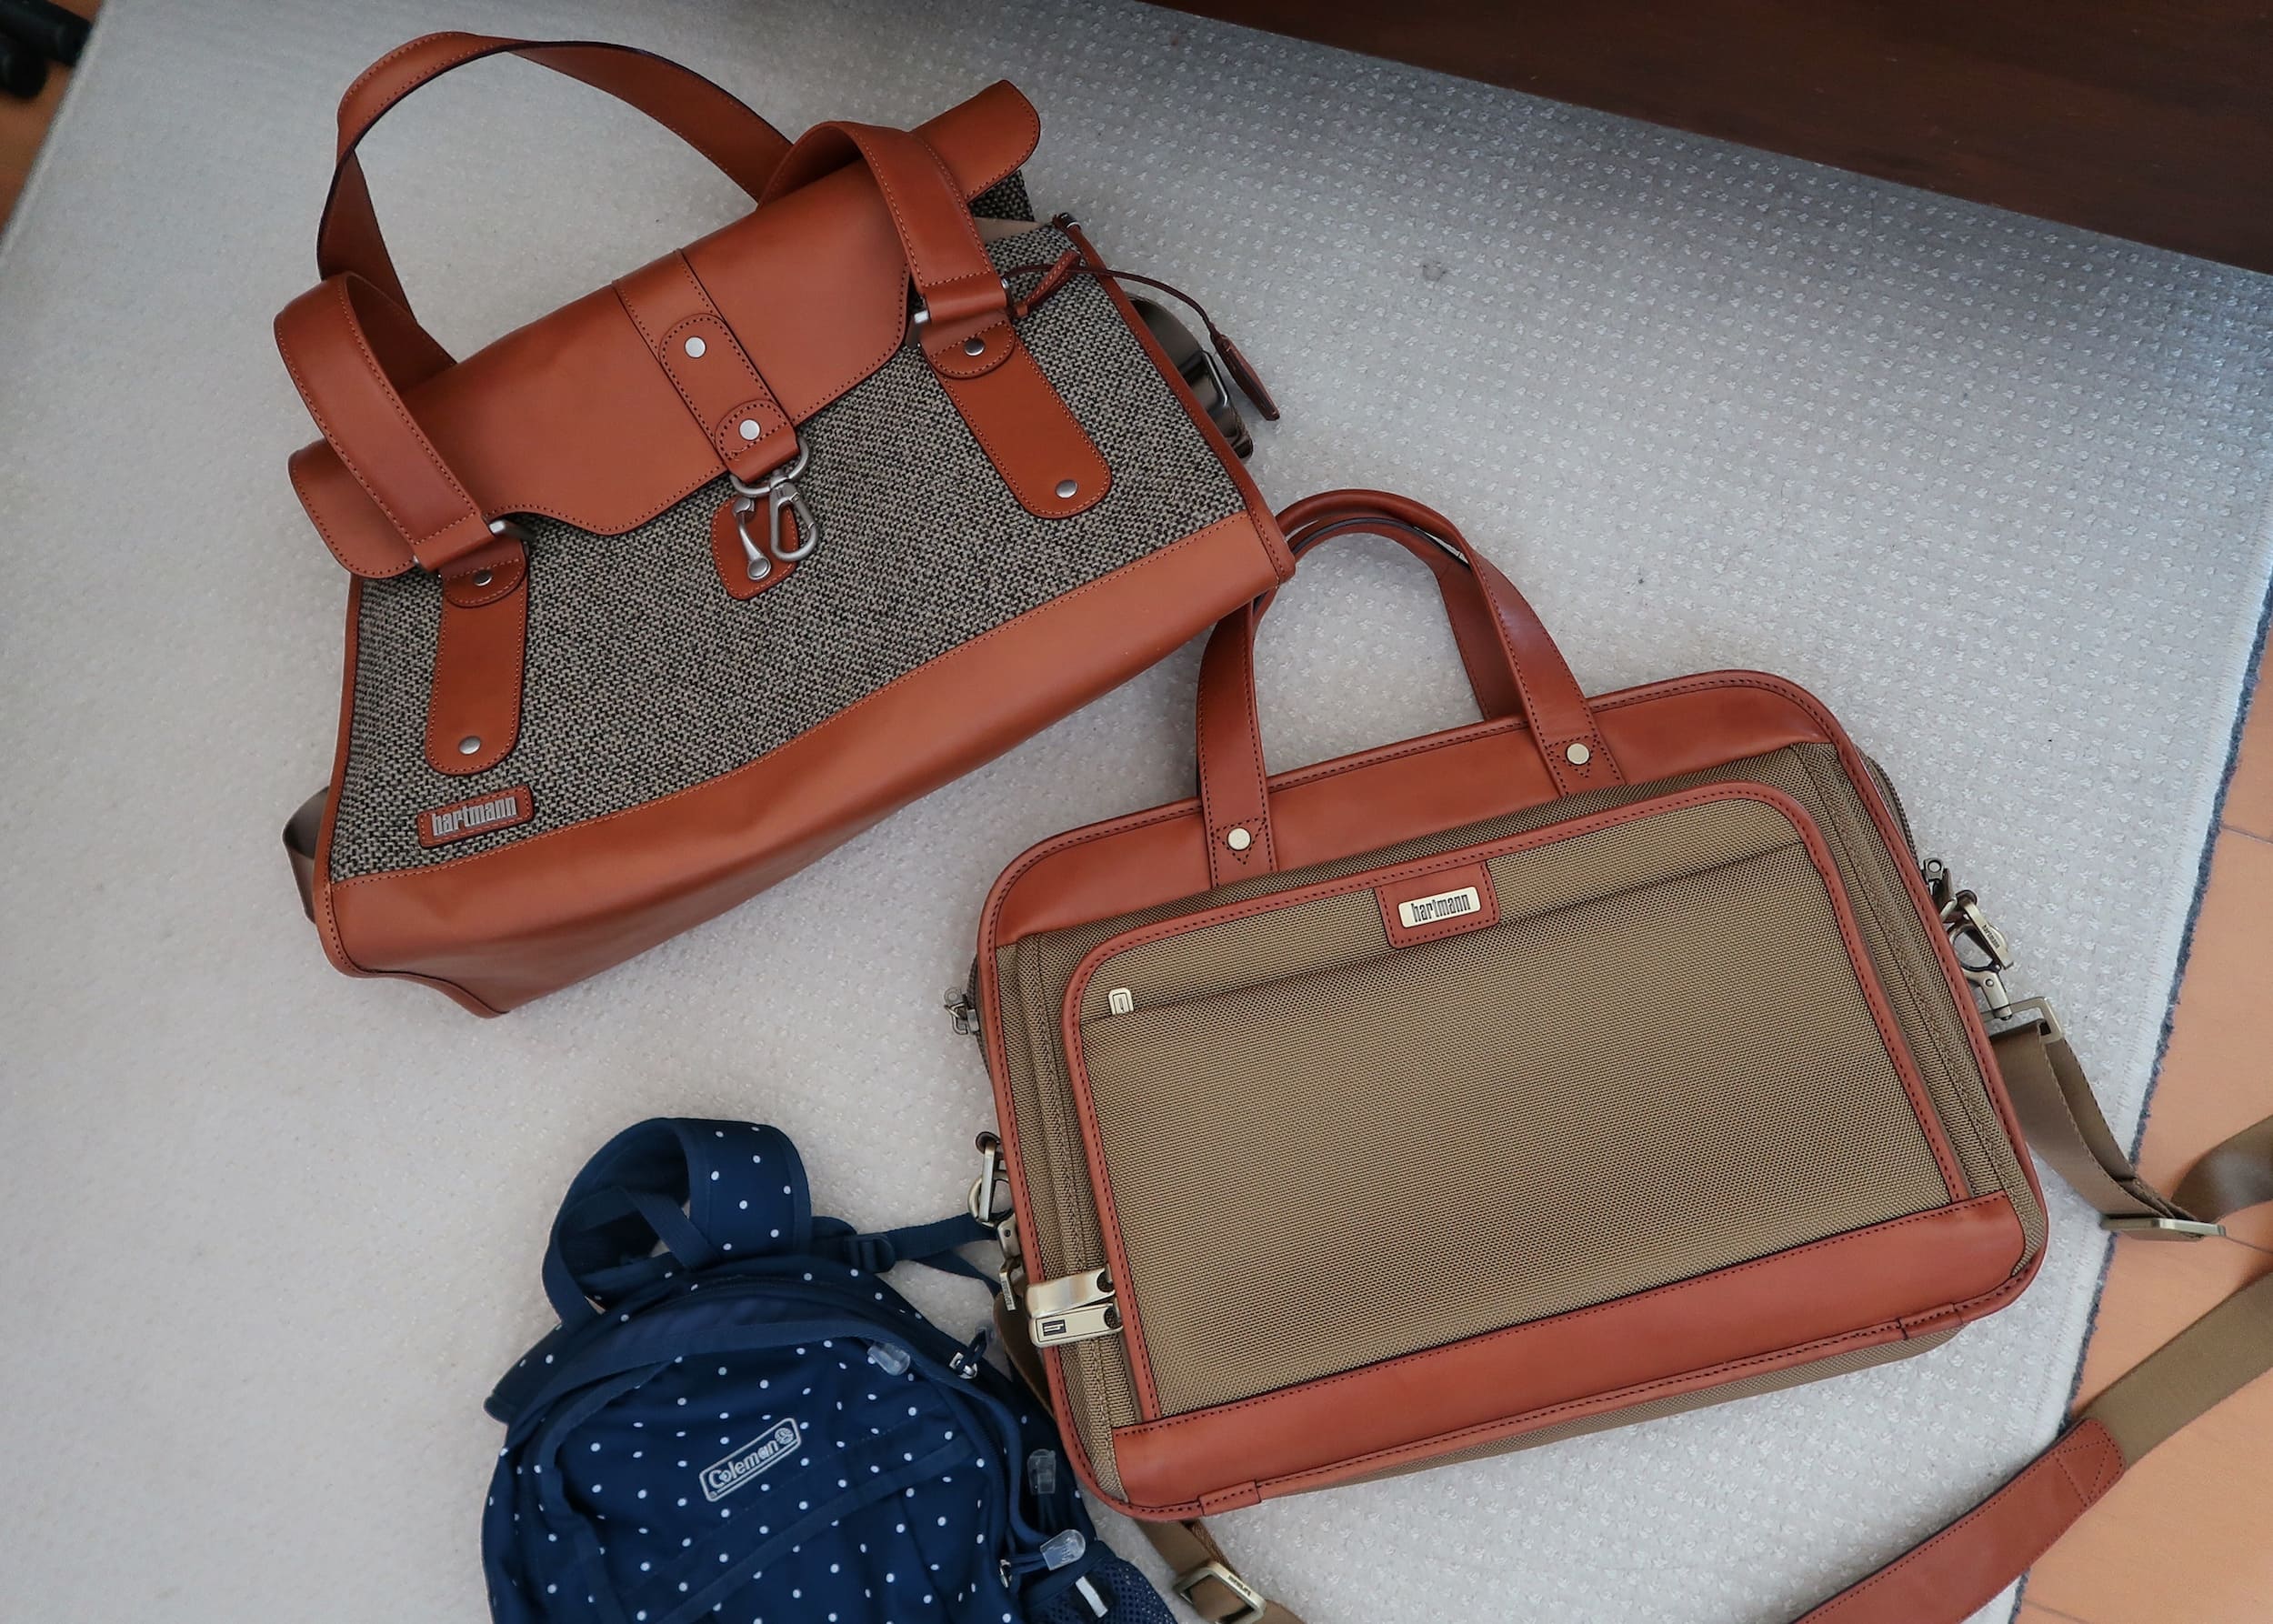
Once I have everything that I will need for my carry-on bag, it is then time to decide which of my bags is best suited for the trip. My overnighter bag with room for a sweater, my laptop bag for short work trips, my wheeled laptop bag when bringing heavier items, or my backpack if it’s a rugged trip. It is never an easy decision for me because I love all my carry-on bags.

Step #3: Check-In Necessities
Check-in necessities include everything that you will need for the check-in process and immediately at the airport. You can store this in the front compartment of your bag for easy access, or organized together in a small pouch. If you travel long-haul flights on business class, save the complimentary amenity kits for future use in your carry-on or for small items for your checked in luggage.

Step #4: In-Flight Kit
Next is my in-flight kit. This is all that I will use during the actual flight when my carry-on bag is stored in the overhead compartment. To keep it all together and organized in my bag and during the flight, I use one of the amenity bags I have collected over the years.

Step #5: Carry-On Electronics
Finally, a carry-on essential is my electronics, namely my laptop and its charger. As a travel blogger, I cannot go one day without my laptop because of blog updates, social media posts, and editing new YouTube videos. Another essential is my vlogging camera and its equipment, the tripod, extra batteries, and SD cards.

What’s in my bag?
Hartmann Luggage
Twelve South Laptop Cover
Canon PowerShot G7 Mark 11
Joby GorillaPod
RHA Earbuds
Chapstick
Paul Smith Wallet
White Envelopes (for cash)
Blank Stationery
Disinfectant Wipes
Disclaimer: This article contains affiliate links. With no additional cost to you, your bookings earn me a commission if you click on the links via my website – Thank you!
Sign up for my newsletter on the sidebar for blog updates and my travel insider tips! And, check out my vlogs on YouTube!


